이 매뉴얼은 JK전자(JK Electronics) 에 의해서 번역, 수정, 작성 되었고 소유권 또한
JK전자(JK Electronics)의 것입니다. 소유권자의 허가를 받지 않고 무단으로 수정, 삭제하거나 배포 할 수 없습니다.
Installation Fedora 9 System
* Update history
- 2011.1.13 : 초기 Release
1. Install Fedora9
이번 절에서는 리눅스 개발환경를 설치하기 위해서 리눅스를 설치하는 과정을 설명 합니다. S3C6410 Startkit 의 모든 예제와 컴파일 과정은 Fedora9 머신에서 실행 하였습니다. 다른 리눅스 환경에서는 테스트 되지 않았습니다. 다음 과정을 통해서 PC에 Fedora9 시스템을 설칠 할 수 있습니다. ftp://download.fedora.redhat.com/pub/fedora/linux/releases/9/Fedora/i386/iso/Fedora-9-i386-DVD.iso 에서 리눅스 설치 파일을 다운로드 받을 수 있습니다. 다운로드 경로는 현재에는 변경 되었을 수도 있습니다. Fedora9 이후 부터는 root 계정을 통한 로그인 과정이 복잡해 져서 초급 개발자 에게는 설정 과정이 다소 복잡 할 수 있습니다. 보통 개발 과정동안에는 root계정으로 모든 작업을 처리하는 것이 편리 할 수 있습니다.
1.1 Graphic Installation Fedora 9.0
Step1: The installation CD into the drive, the BIOSTo boot from the CD-ROM, After the system starts the following screen will appear, press Enter to continue.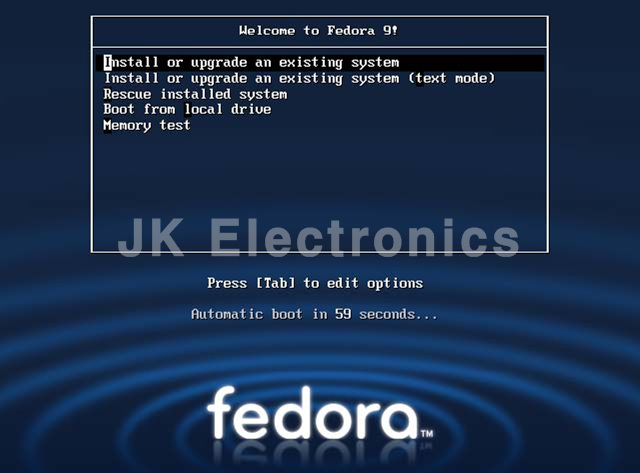
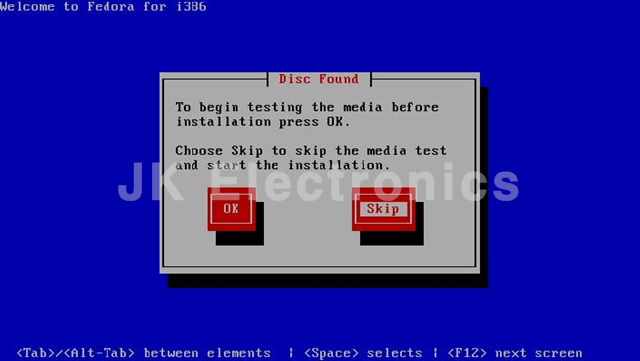
Step2: And then the next step, Check the installation disk, Generally not detected, So I chose Skip(Skip)
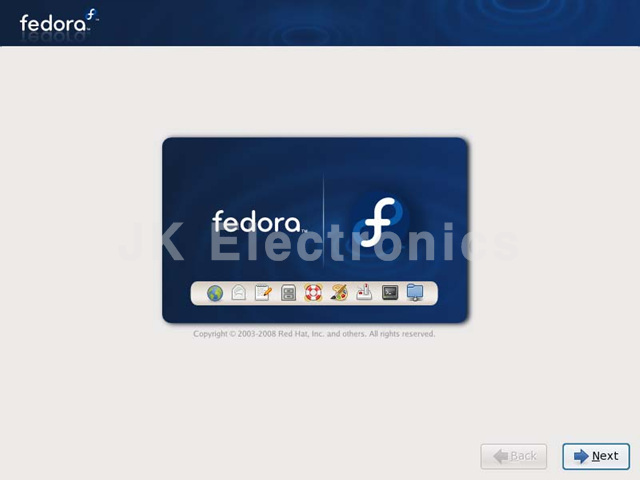
Step3: After a while the screen to enter the installation graphical, Click NextCan.
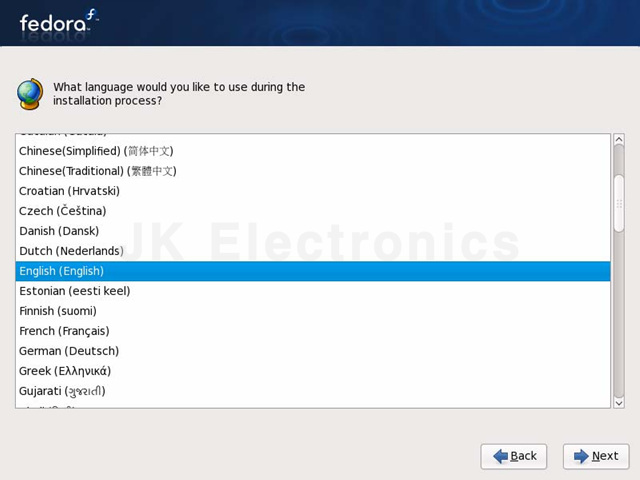
Step4: Choose what language the installation process , This choice is in English
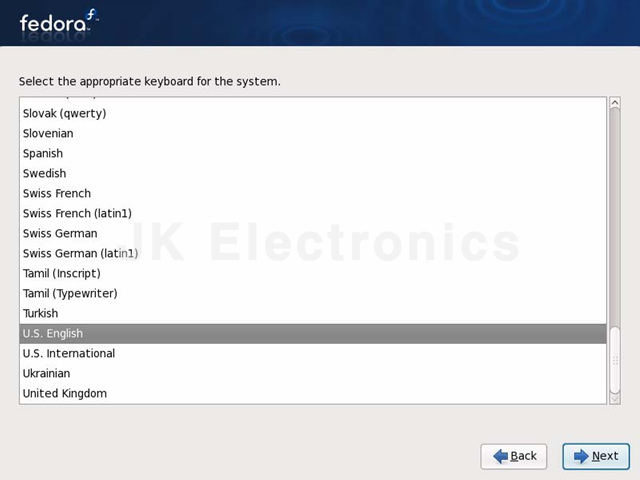
Step5: Select Keyboard
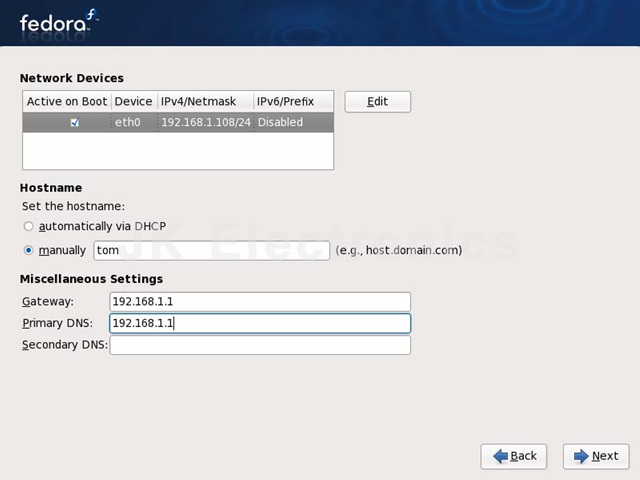
Step6:Begin setting up the network
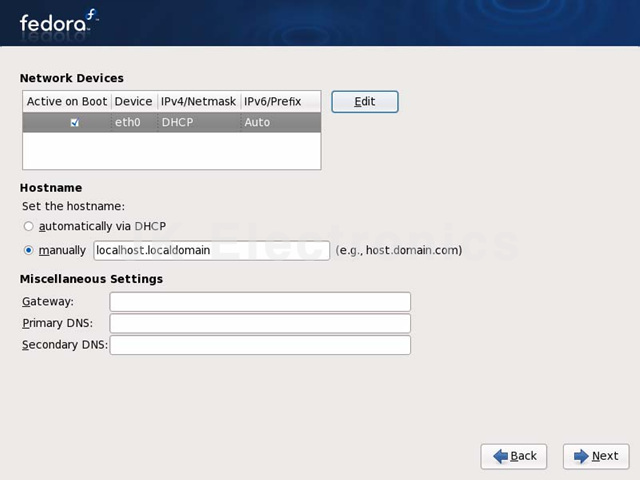
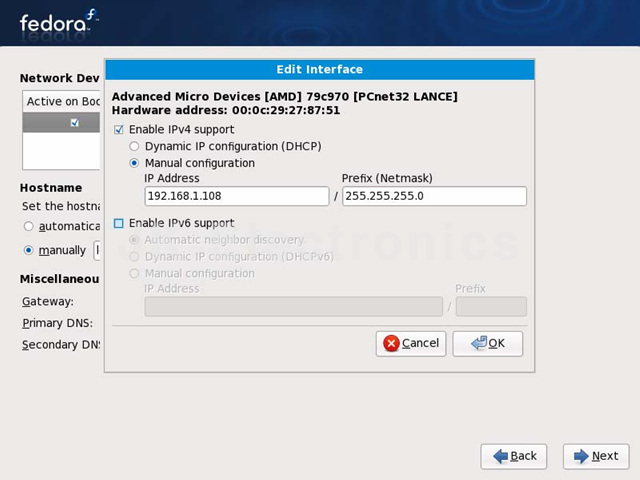
Point "Edit"Button, do not set DHCP, We generally use static IP, Control to fill in the following, respectively, enter IP and subnet mask
Point "OK"Return to start and set the machine name and gateway DNS etc.
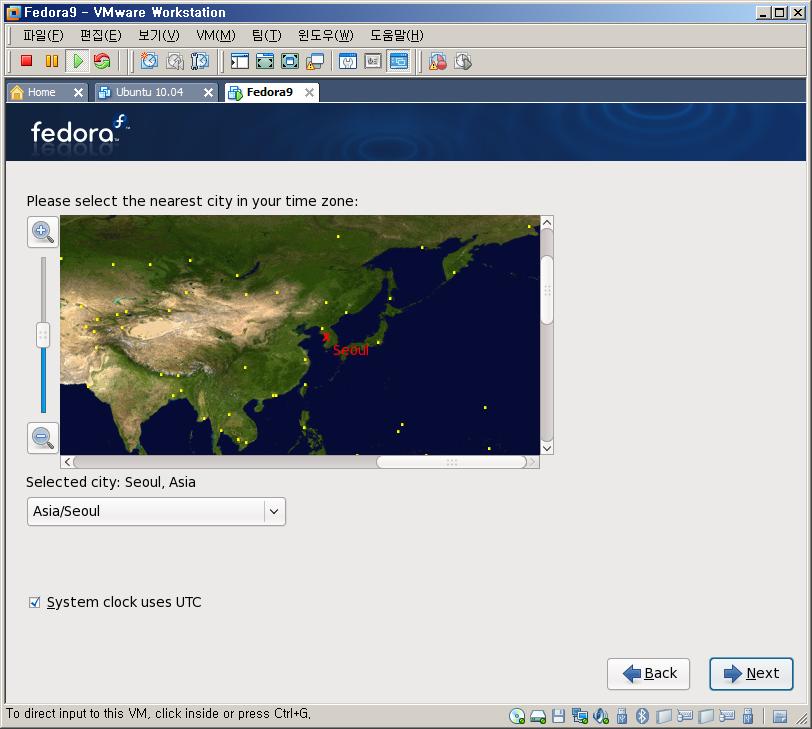
Step7: Set the time zone, if you do not use virtual machine installation, "System clock uses UTC" option can be removed, as shown in Figure.
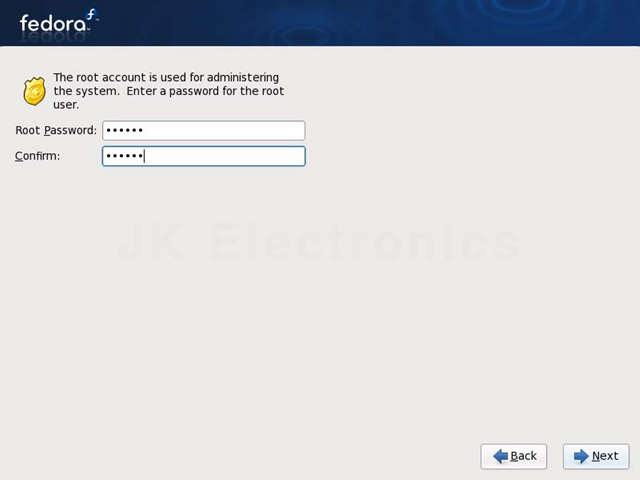
Step8: Set root user password must be 6 above the median.
Step9: Set the partition, you can usually choose the default, pay attention to hard data to back up
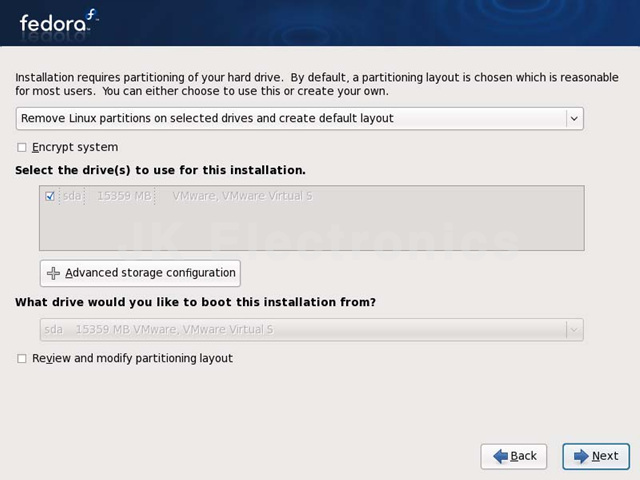
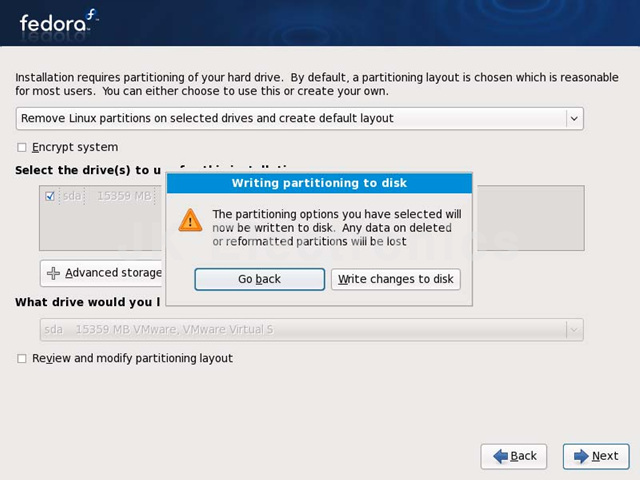
Point "Next" warning message appears, telling you to format the partition in the execution of all data, in general we Vmware use of a virtual machine, so you can choose "Write changes to disk" after the start formatting.
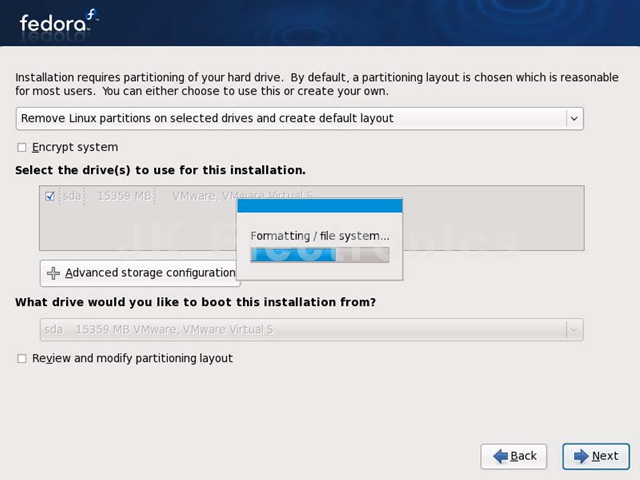
This is the format of the process diagram:
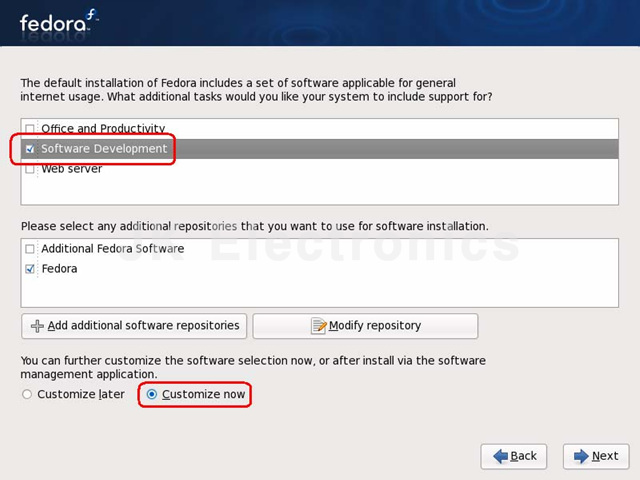
Step11: Select the installation type, select the figure, point "Next" start custom.
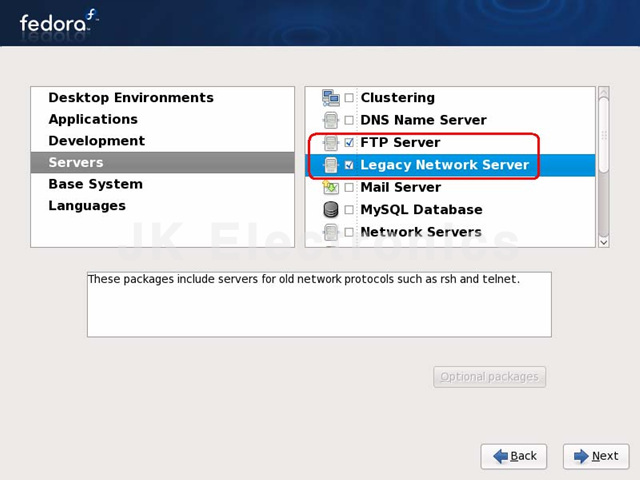
Step12: In Servers entry, select the figure
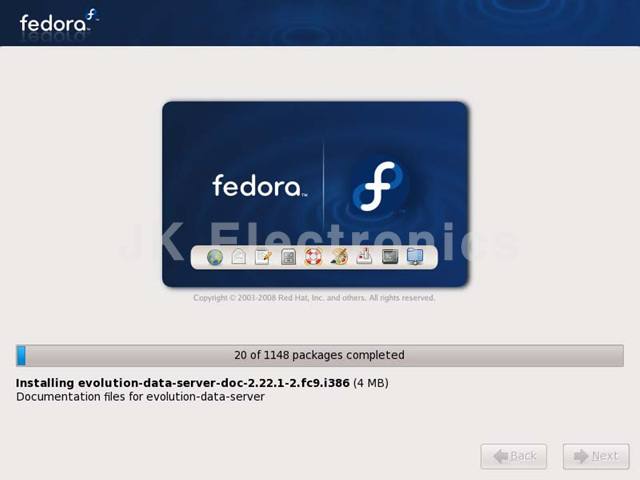
Step13: Start the installation system, the process time will be longer, please be patient.
Step14: Installed, as shown in Figure
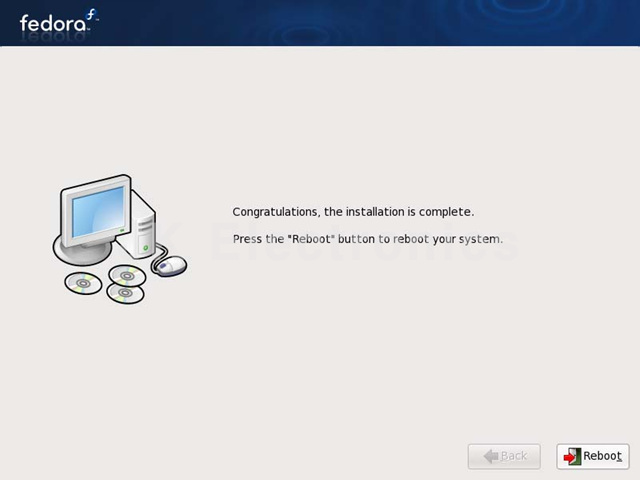
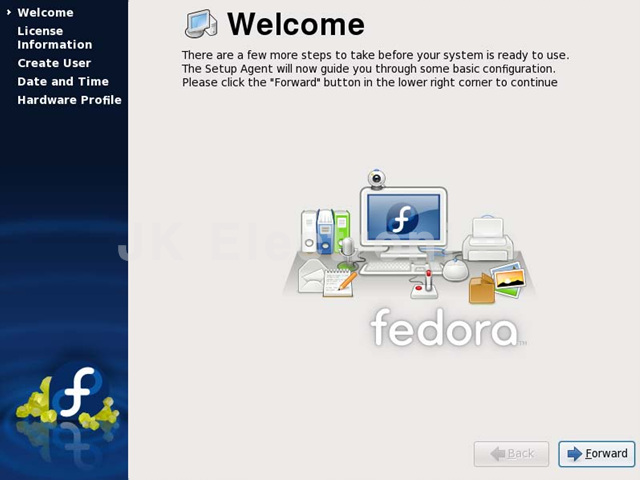
Step15: Connected to the step, press "Reboot" button to reboot the system, appears for the first time to use interface, as shown.
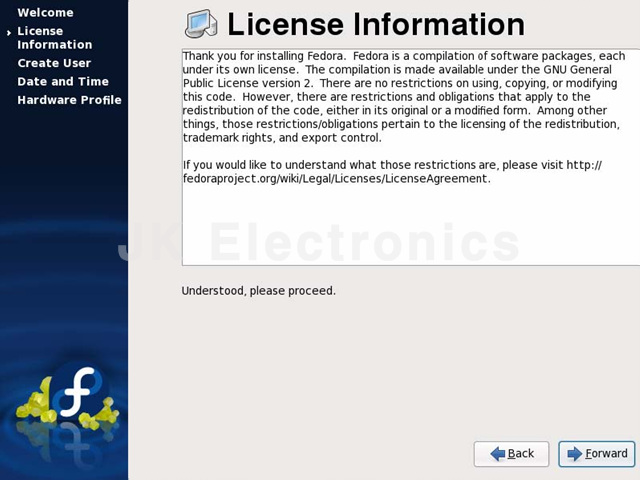
Step16: Some licensing information, without regard to, continue to the next step
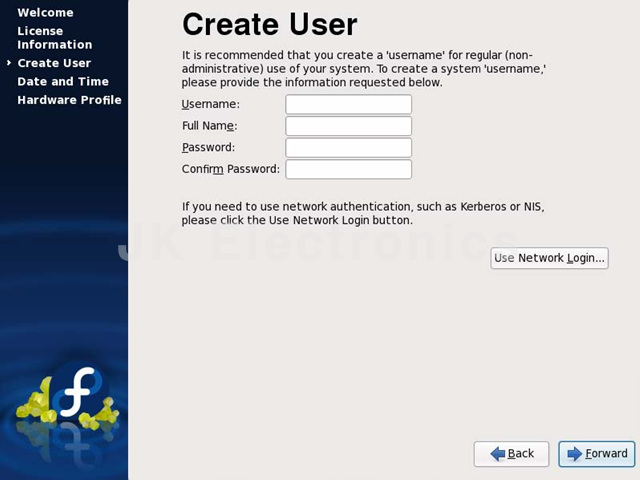
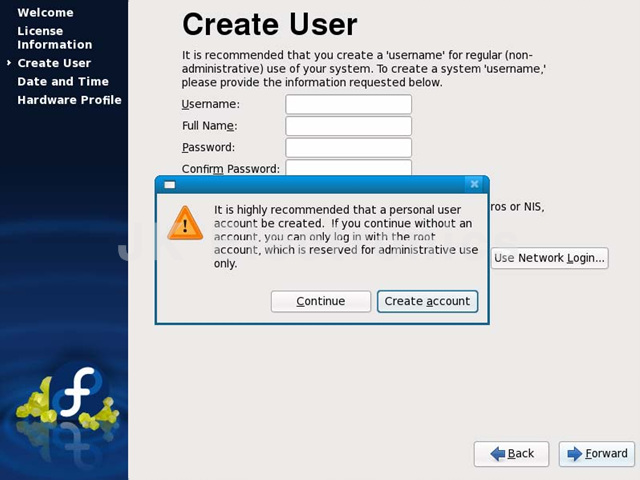
Step17: Create a user, in this we do not need to create any new user, click "Forward" continue
Then you will be prompted to confirm that point "Continue" continue.
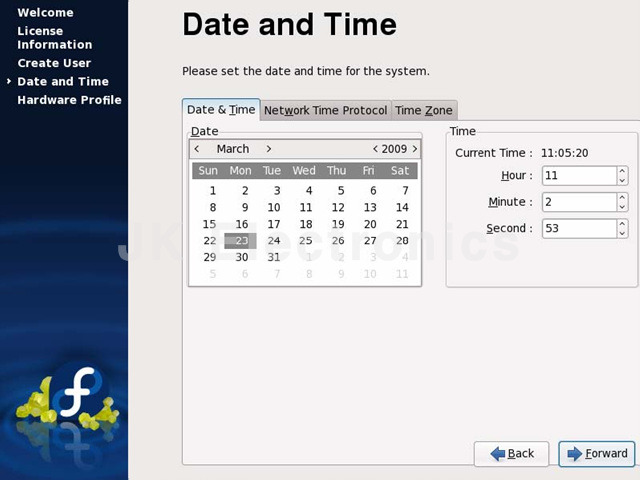
Step18: Set the date and time, without regard to, continue to the next step
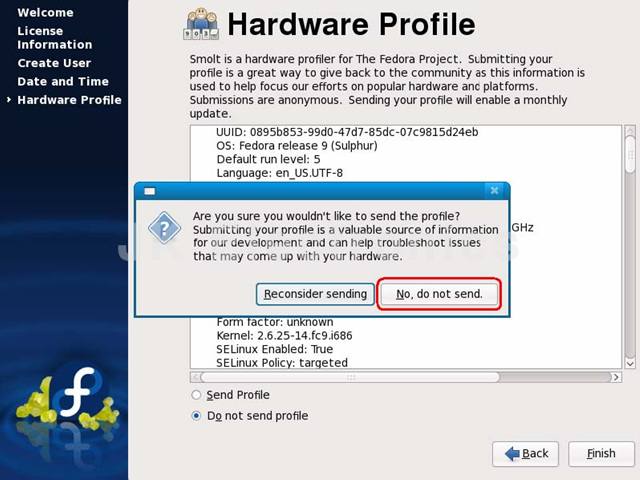
Step19: List of some of the machine hardware information, use the default settings, point "Finish”
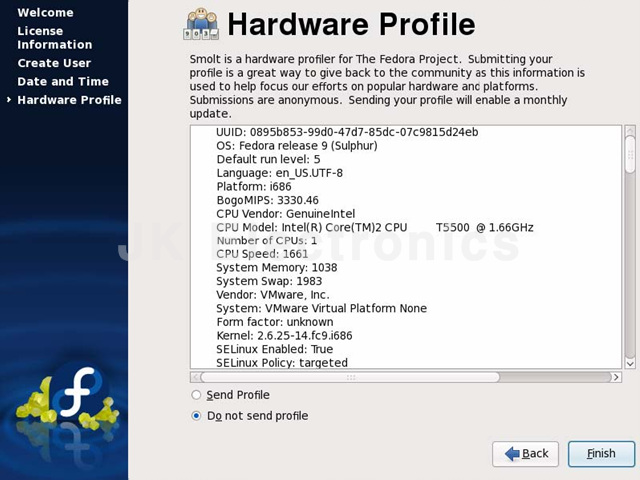
Prompted, as shown in Figure choices, the next step
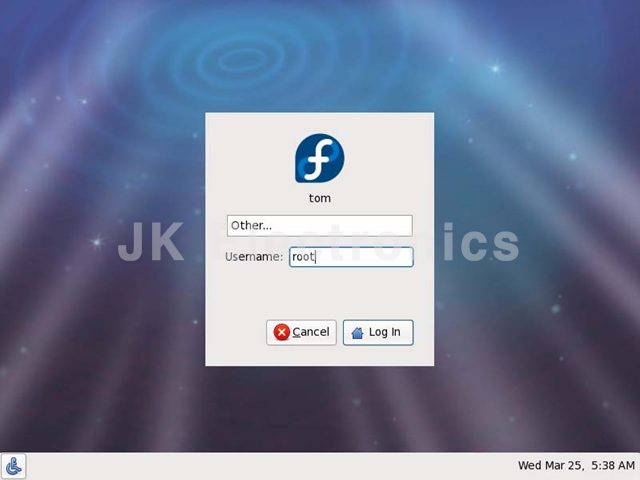
Step20: Login screen appears, we should rootUser to log in, so to enter root
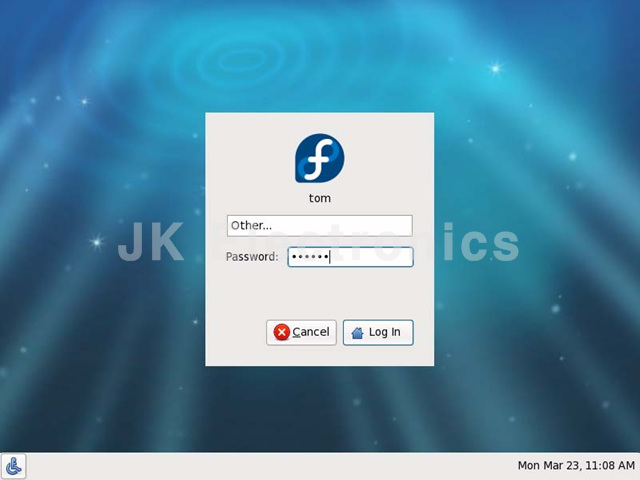
Just enter the password
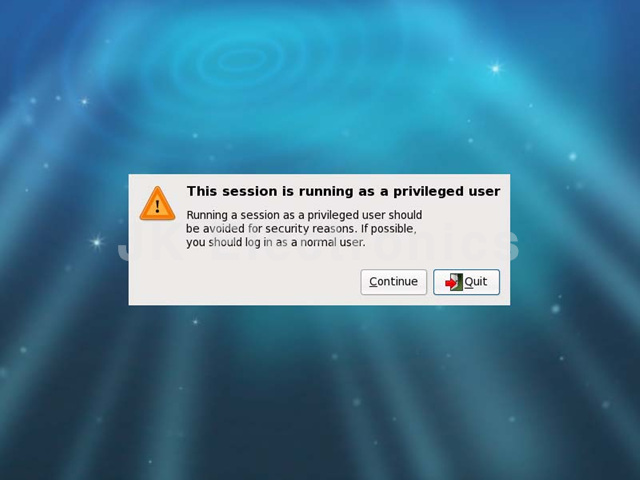
A prompt will appear after login, after you order rootUser login, this prompt will appear each time, each time point "Continue" button.
This is the login interface, it Windows or Ubuntu is very similar.